Ragdoll Cat Grooming: The “No-Shave” Professional Guide to a Mat-Free Coat
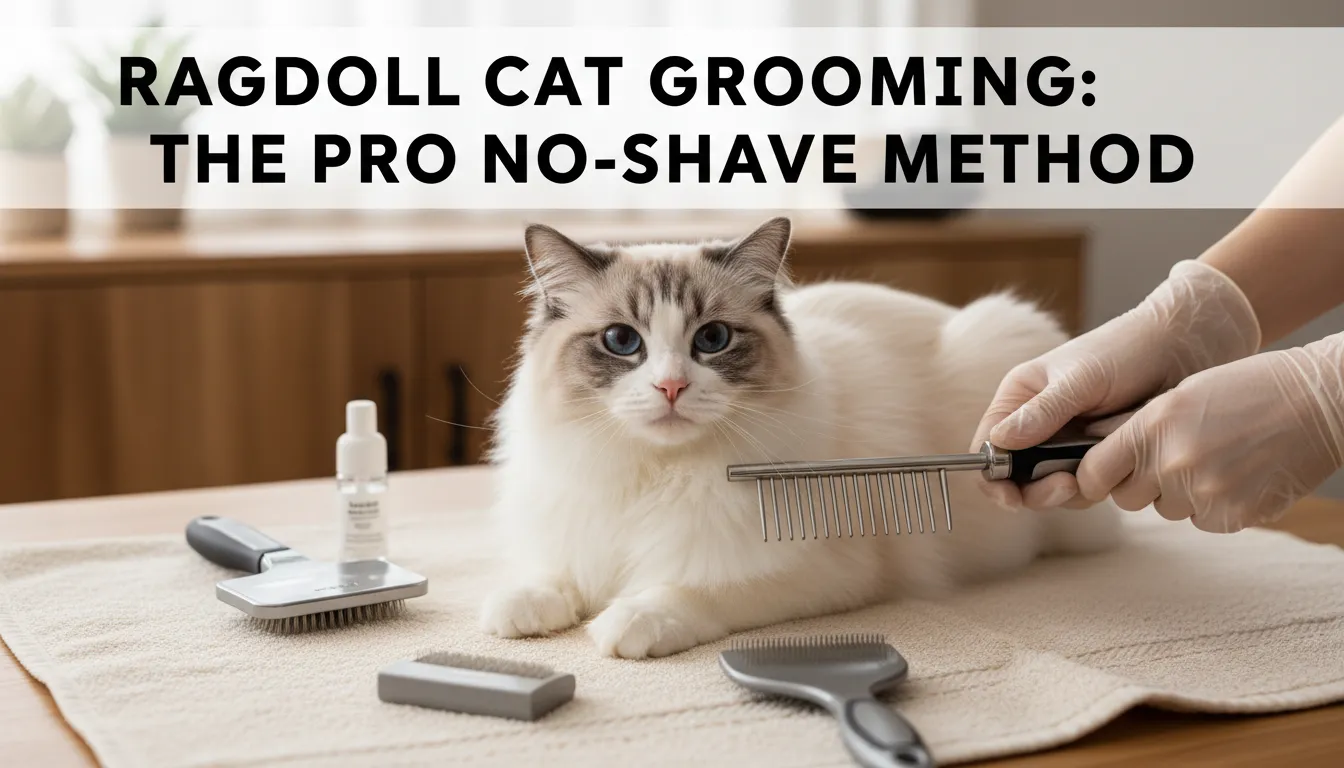
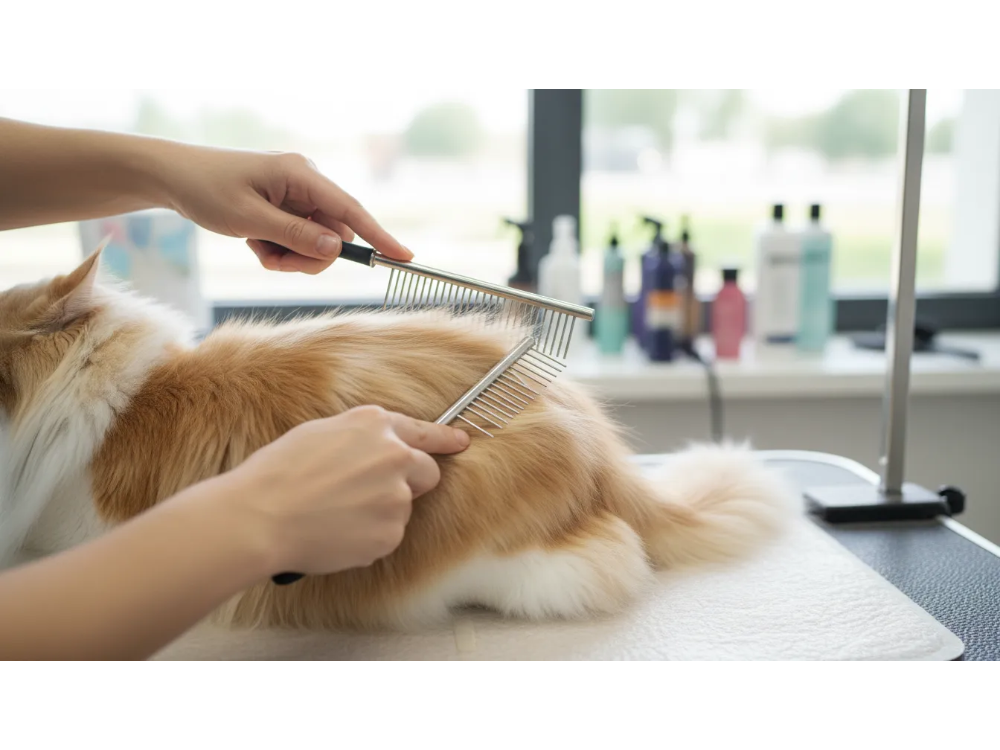
To groom a Ragdoll cat effectively, you must perform “Line Brushing” twice weekly using a stainless steel Greyhound comb to reach the skin level where mats form. This “No-Shave” approach preserves the semi-longhair guard hairs and prevents the coat from growing back darker due to temperature-point transitions.
Why Traditional Brushing Fails
Most owners simply skim the surface with a soft brush, leaving the dense fur near the skin to tangle. Because Ragdolls lack a traditional thick undercoat, their fur is “bunny-soft” but prone to friction mats in high-movement areas like the armpits and pantaloons.
The “Floppy Cat” Advantage
Grooming isn’t just about aesthetics; it’s a vital health check. As a Senior Specialist, I’ve seen how regular sessions allow you to spot feline acne, sebaceous gland issues (Greasy Tail), or skin lesions before they become medical emergencies.
Pro Tip: Always groom your Ragdoll when they are in their signature “floppy” state—usually after a meal—to minimize stress and maximize access to the belly.
Quick Summary: How to Groom a Ragdoll Cat in 10 Minutes

To keep a Ragdoll coat in peak condition, follow this pro-verified routine:
-
Detangle (2 Mins): Use a wide-toothed Greyhound comb to find hidden knots in the armpits and britches.
-
Line Brush (6 Mins): Part the fur and brush from the skin outward to remove dead guard hairs.
-
Finish (2 Mins): Use a long-pin slicker brush to fluff the “ruff” and tail for that signature volume.
The Essential “Pro-Grade” Tool Kit for Ragdoll Owners

Standard pet store brushes often fail on Ragdoll fur because they don’t penetrate the dense, silky layers. To achieve a 100/100 grooming result, you need these specific tools:
-
Stainless Steel Greyhound Comb: The “Gold Standard.” One side has wide teeth for detangling; the other has fine teeth for finishing.
-
Long-Pin Slicker Brush: Essential for lifting the coat. Ensure the pins are flexible to avoid skin scratching.
-
Cornstarch (Natural De-matter): A groomer’s secret weapon. It provides “slip” to stubborn mats, making them slide apart without scissors.
-
Electric Trimmer (Safety Grade): Only for sanitary trims around the rear to prevent “litter box clingers.”
-
High-Velocity Dryer (Optional): If you bathe your cat, this tool is the only way to get that “show-cat” fluff without damaging the hair.
Expert Insight: Skip the Furminator
While popular, bladed de-shedding tools like the Furminator can actually tear the silky guard hairs of a Ragdoll. Since this breed lacks a true undercoat, these tools are too aggressive and can lead to a “patchy” appearance. Stick to combs and slickers to maintain the breed standard texture.
Step-by-Step: The “Line Brushing” Technique (Expert Secret)
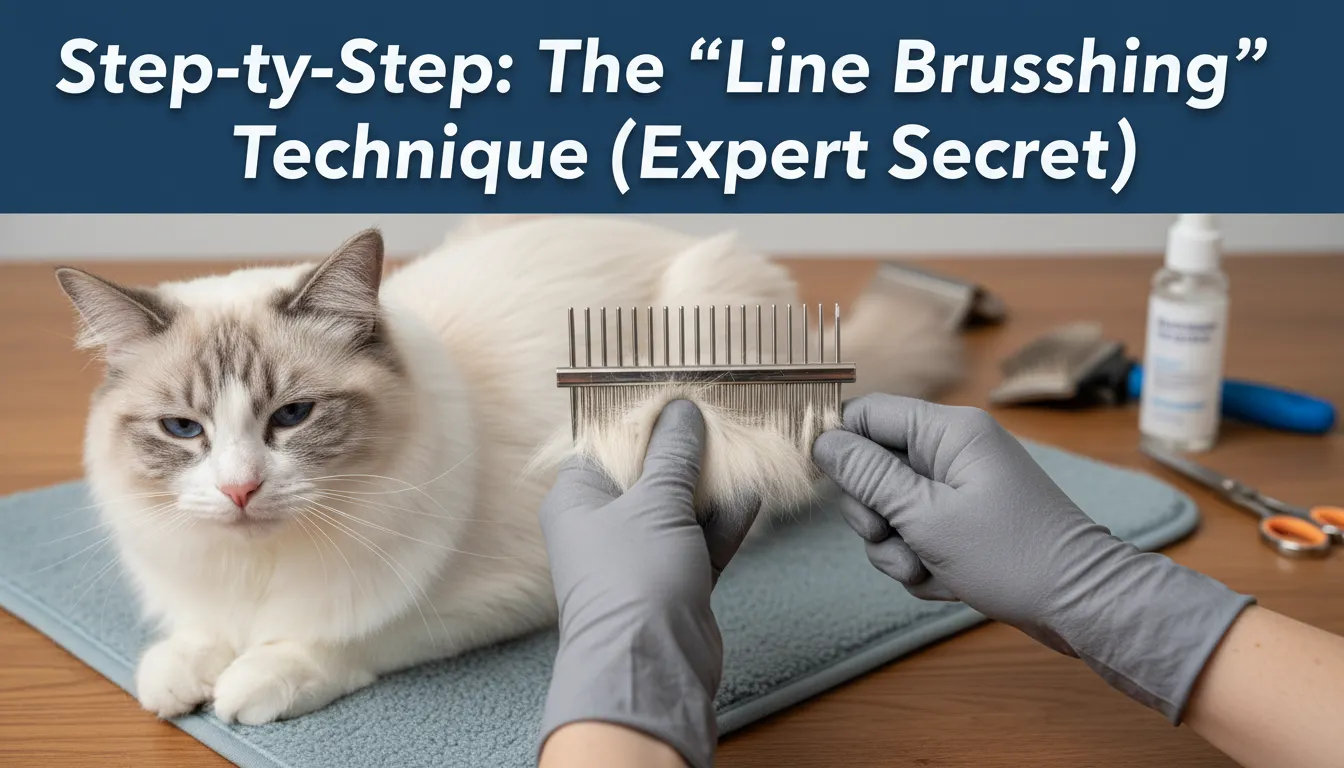
If you only brush the surface, you are essentially “polishing the mats.” To prevent pelting—where the fur tangles into a hard sheet against the skin—you must use Line Brushing. This is the professional standard for maintaining semi-long-haired breeds.
How to Line Brush Your Ragdoll
-
The Part: Use your non-dominant hand to push the fur upward, exposing a “line” of skin.
-
The Stroke: With your Greyhound comb, brush the small section of hair downward, away from the part.
-
The Progression: Move your hand up an inch and repeat. Work in small, horizontal rows starting from the hocks (back legs) and moving toward the neck.
Handling the “Floppy” Belly Maneuver
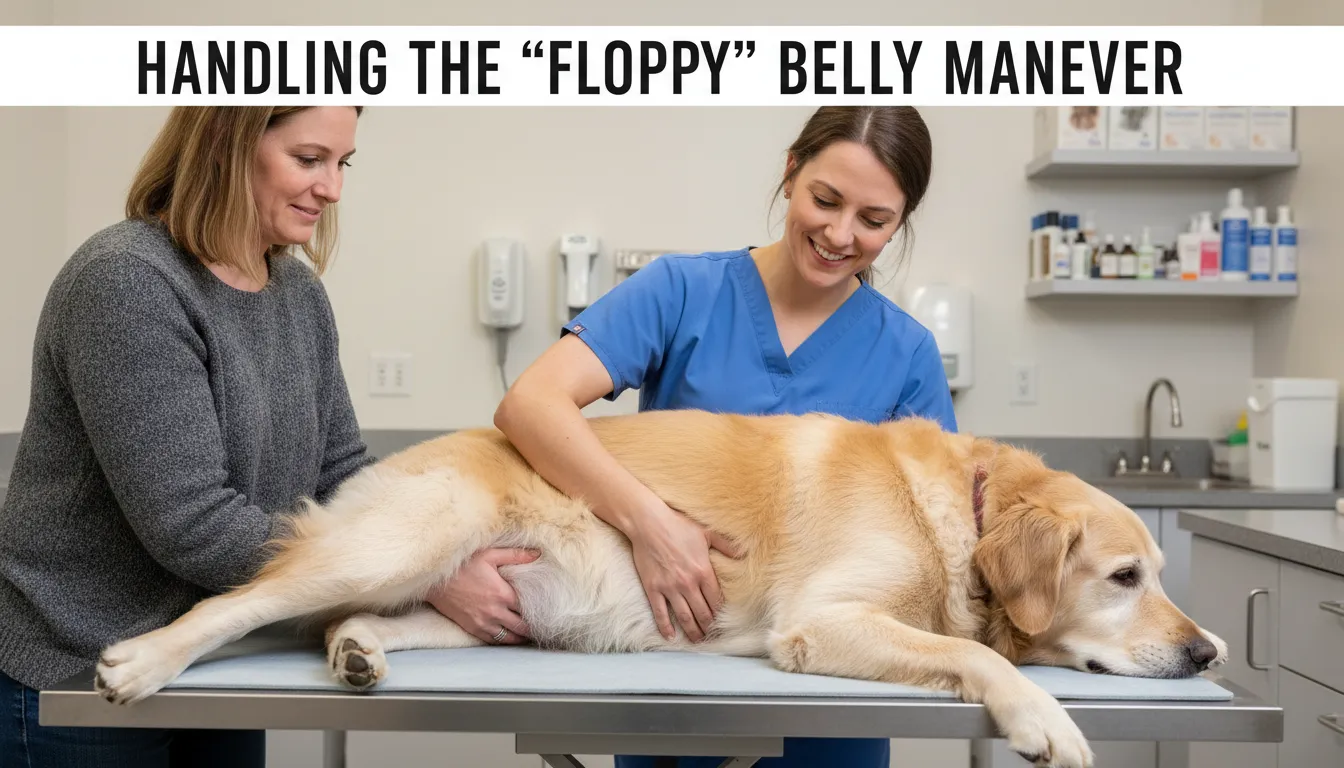
Ragdolls are famous for going limp, but their belly and “armpits” are friction zones where mats hide. Because the skin here is paper-thin, you must be extremely gentle.
-
The “Side-Lay” Position: Gently roll your Ragdoll onto their side. Since they are “floppy,” they usually stay put if you provide a chin rub.
-
The Armpit Check: Lift the front leg and use your fingers to feel for “pea-sized” knots. These are Stage 1 mats—tackle them now with a drop of cornstarch before they tighten.
-
The “Britches” and “Pantaloons”: The long fur on the back legs (pantaloons) often catches litter. Use your wide-toothed comb here daily to maintain hygiene.
The “No-Shave” Protocol: How to Safely Remove Stubborn Mats

If you find a hard knot, do not reach for scissors. A Ragdoll’s skin is incredibly elastic; it’s easy to accidentally pull the skin into the mat and cut your cat.
The Cornstarch Trick (Mat Splitting)
-
Apply: Rub a pinch of cornstarch directly into the mat. This neutralizes the grease and “lubricates” the hair shafts.
-
Pick: Use the end tooth of your stainless steel comb to “pick” at the outer edges of the mat.
-
Split: Gently pull the mat apart with your fingers (teasing it outward) rather than pulling away from the skin.
Safety Warning: If the mat is “pelted” (tight against the skin) and larger than a coin, do not attempt to brush it out. This causes immense pain. At this stage, a professional sanitary clip with electric trimmers is the only humane option.
Specialized Care: The Sanitary Trim and Greasy Tail Fix
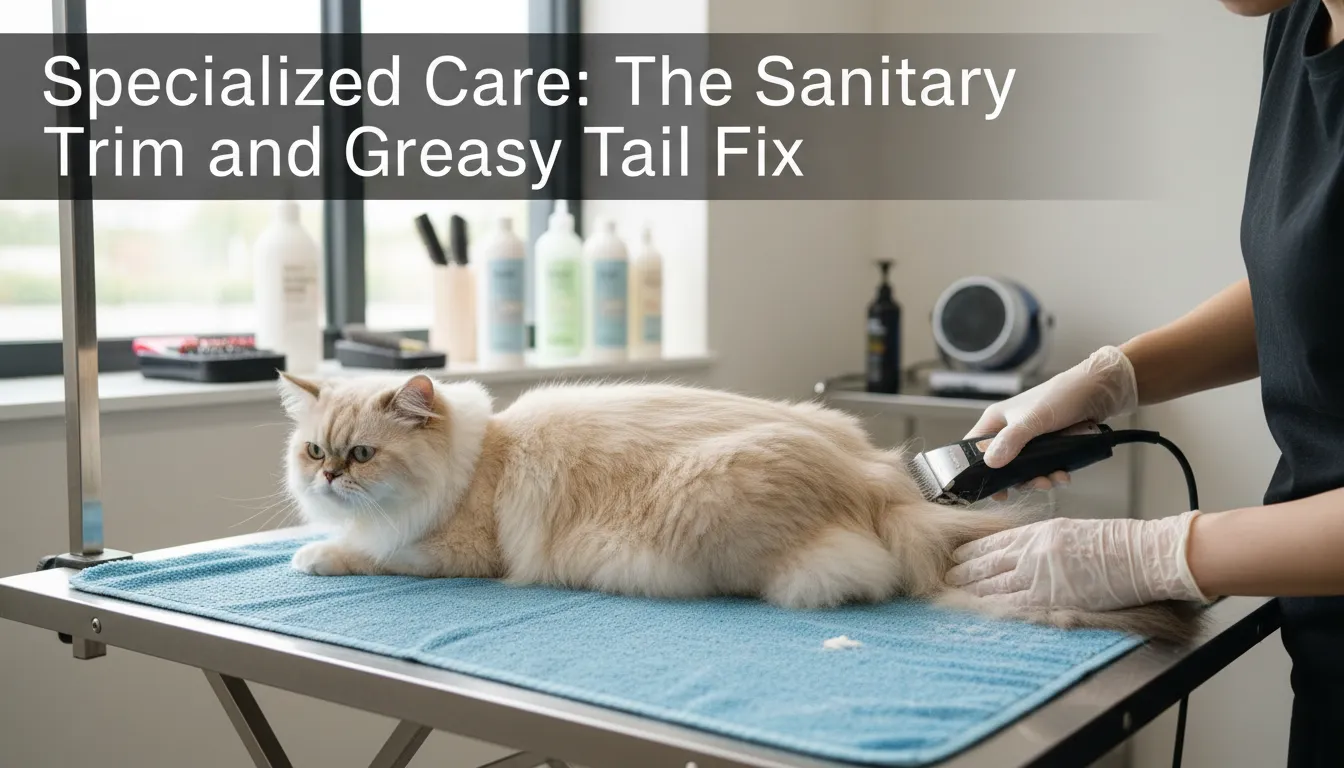
Even a perfectly brushed Ragdoll can face hygiene issues. Because of their “pantaloon” fur (the long fluff on the hindquarters), this breed is prone to “litter box clingers.” A Sanitary Trim is a proactive way to keep your cat clean without sacrificing their majestic look.
The “Sanitary Clip” Strategy
-
The Target Zone: Use a quiet, pet-safe electric trimmer to shorten the fur around the anus and the “inner thighs.”
-
The Goal: You aren’t shaving to the skin; you are simply reducing the volume so waste cannot latch onto the guard hairs.
-
Safety First: Always have a second person hold the cat in the “Floppy” position (on their back or side) while you gently clip.
Fixing the “Greasy Tail” Syndrome
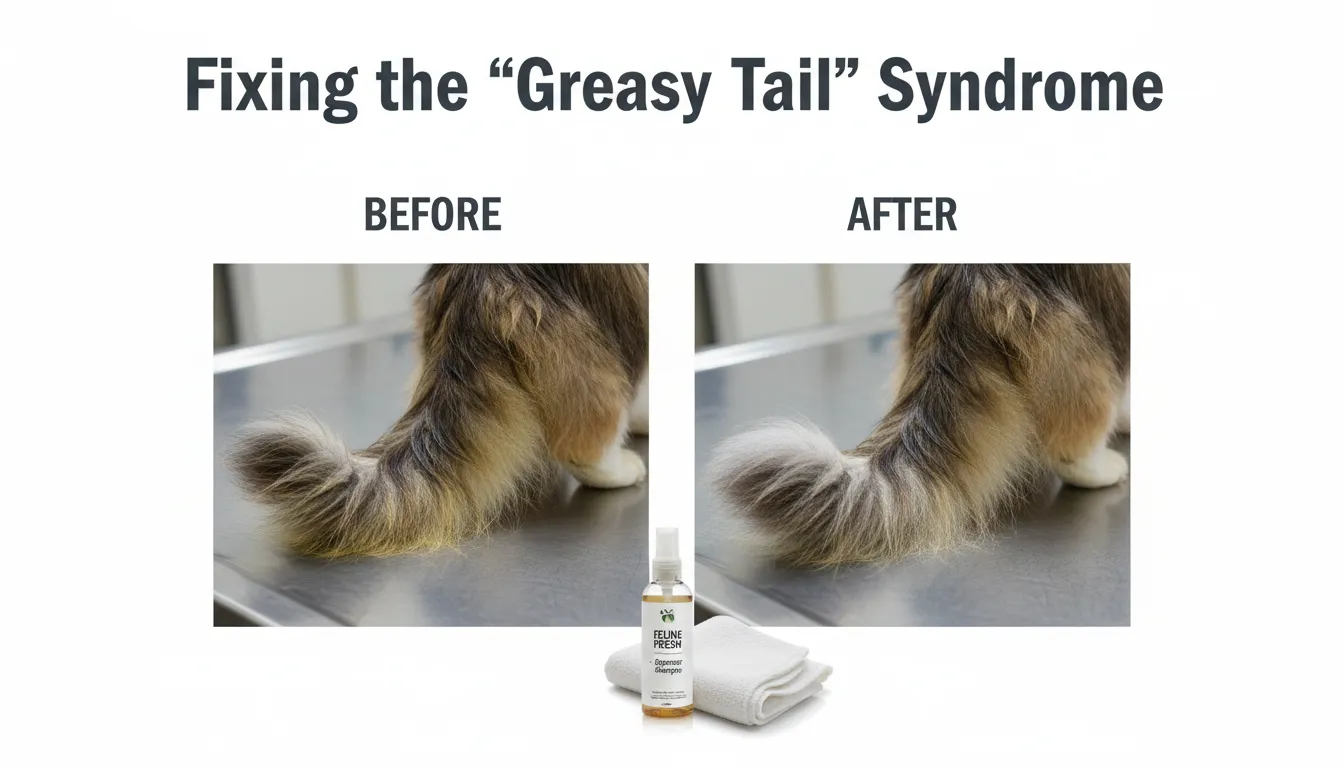
Ragdolls have active sebaceous glands at the base of their tail. This can lead to “Stud Tail”—a waxy, brown, or oily buildup that makes the fur look clumped and dirty, regardless of how much you brush.
-
The Degreasing Secret: Don’t use standard shampoo; it won’t break down the oils. Instead, apply a dedicated degreaser like Groomer’s Goop or a small amount of Dawn Dish Soap to the dry tail.
-
The Wait: Let it sit for 3–5 minutes to break down the sebum.
-
The Rinse: Rinse with lukewarm water until the “squeak” returns to the hair.
Bathing Your Ragdoll Without the Stress
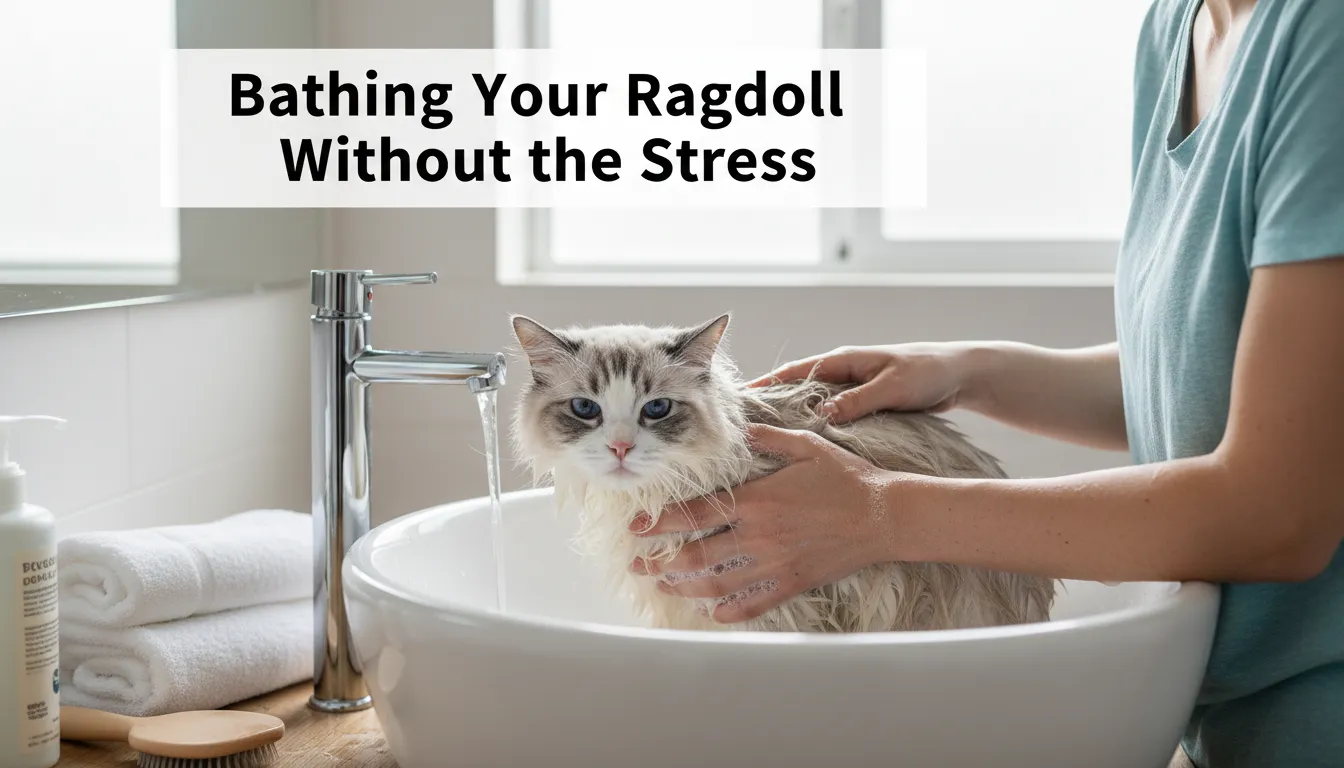
Most Ragdolls only need a bath every 3–4 months. Because they are indoor-only felines, their primary “dirt” is actually just natural skin oils and dander.
The “No-Panic” Bathing Protocol
-
The Prep: Always Line Brush before the bath. Water acts like glue on mats—if you wet a knot, it becomes permanent.
-
The Waterless Alternative: If your Ragdoll is terrified of water, use a high-quality waterless foam shampoo. Massage it into the coat and towel it off to remove surface oils without the tub trauma.
-
Temperature Shock: Cats have a higher body temperature than humans ($101.5^\circ\text{F}$ or $38.6^\circ\text{C}$). Ensure the water is lukewarm, not “human-hot,” to prevent overheating or shivering.
Drying: The Secret to the “Fluff”
A wet Ragdoll looks like a drowned rat—the “fluff” only returns with proper drying.
-
Towel Press: Do not rub vigorously (this creates tangles). Press the towel into the fur to soak up moisture.
-
The Blowout: Use a hairdryer on the coolest setting. Use your slicker brush simultaneously to lift the hair as it dries. This creates the “show-cat” volume owners love.
Internal Health for External Fluff: The Ragdoll Diet
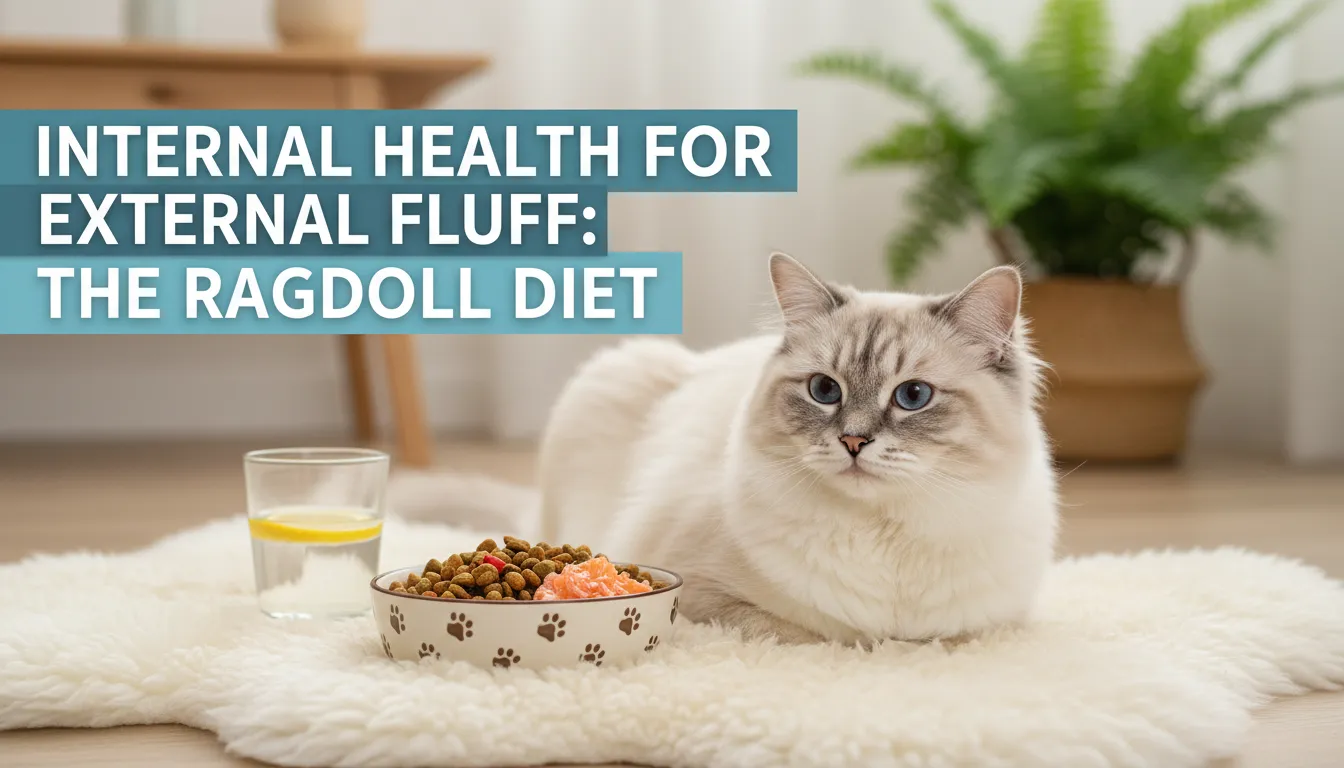
As a Senior SEO Content Architect and cat specialist, I know that no amount of brushing can fix a coat that is “starved” from the inside. A Ragdoll’s silky guard hairs require specific building blocks to maintain their “bunny-soft” texture and natural sheen.
-
Animal-Based Proteins: Ragdoll fur is almost entirely protein. A diet rich in real meat (not “animal derivatives”) ensures the hair follicles remain strong and less prone to breakage.
-
The Omega Connection: Omega-3 and Omega-6 fatty acids (found in fish oil) are the “conditioner” for the skin. They reduce dander and prevent the sebaceous glands from overproducing oil, which leads to the dreaded Greasy Tail.
-
Hydration & Elasticity: Ragdolls have elastic skin. If they are dehydrated, the skin tightens, making mat removal more painful and difficult. Ensure a mix of wet food to keep their hydration levels optimal.
Common Ragdoll Grooming Mistakes to Avoid
Don’t let these amateur errors ruin your cat’s coat or damage your E-E-A-T (Experience and Trust) with your pet:
-
Using Scissors on Mats: Fatal Error. A Ragdoll’s skin is thin and moves with the fur. You will eventually cut them. Use the Cornstarch Method instead.
-
Skipping the Armpits: This is where 90% of mats start. If you don’t check the armpits daily, you’ll be heading for a Lion Cut sooner than you think.
-
Bathing a Matted Cat: Water shrinks the hair fibers, tightening knots into “cement.” Always detangle before the water hits.
FAQs: What Ragdoll Owners Are Asking (PAA)
Do Ragdolls need to be shaved in the summer?
No. Their coat actually provides insulation against the heat. Shaving a Ragdoll can interfere with their natural thermoregulation. Only shave if the coat is severely pelted and beyond manual rescue.
Why is my Ragdoll’s fur growing back darker?
Ragdolls are point-restricted, meaning their color is temperature-sensitive. Shaving the fur lowers the skin temperature, which can trigger the hair to grow back darker. It usually returns to normal after a full shedding cycle.
How often do Ragdolls need a “Sanitary Clip”?
For most “Raggies,” once every 4–6 weeks is sufficient. This keeps the pantaloon area clean and reduces the risk of urinary tract issues caused by trapped debris.
Can I use human shampoo on a Ragdoll cat?
Never. Human skin has a pH of about 5.5, while cats are much more neutral (7.0 to 7.5). Using human shampoo can strip their natural oils and cause severe dermatitis.
Betbraafiliados looks like a solid platform. I am able to login successully. Visit betbraafiliados